This document serves as your indispensable guide, offering clear instructions, insights, and tips for leveraging the full potential of our platform. Inside this manual, you’ll discover how to get started, navigate our user-friendly interface, perform self-assessments, and interpret the results to gain valuable insights into your strengths, weaknesses, and areas for personal development. Learn how to set goals, track your progress, and access resources to support your academic and personal growth aspirations.
Here is the step-wise flow for creating a program. You can follow these steps and can use the system.
Video Tutorial #
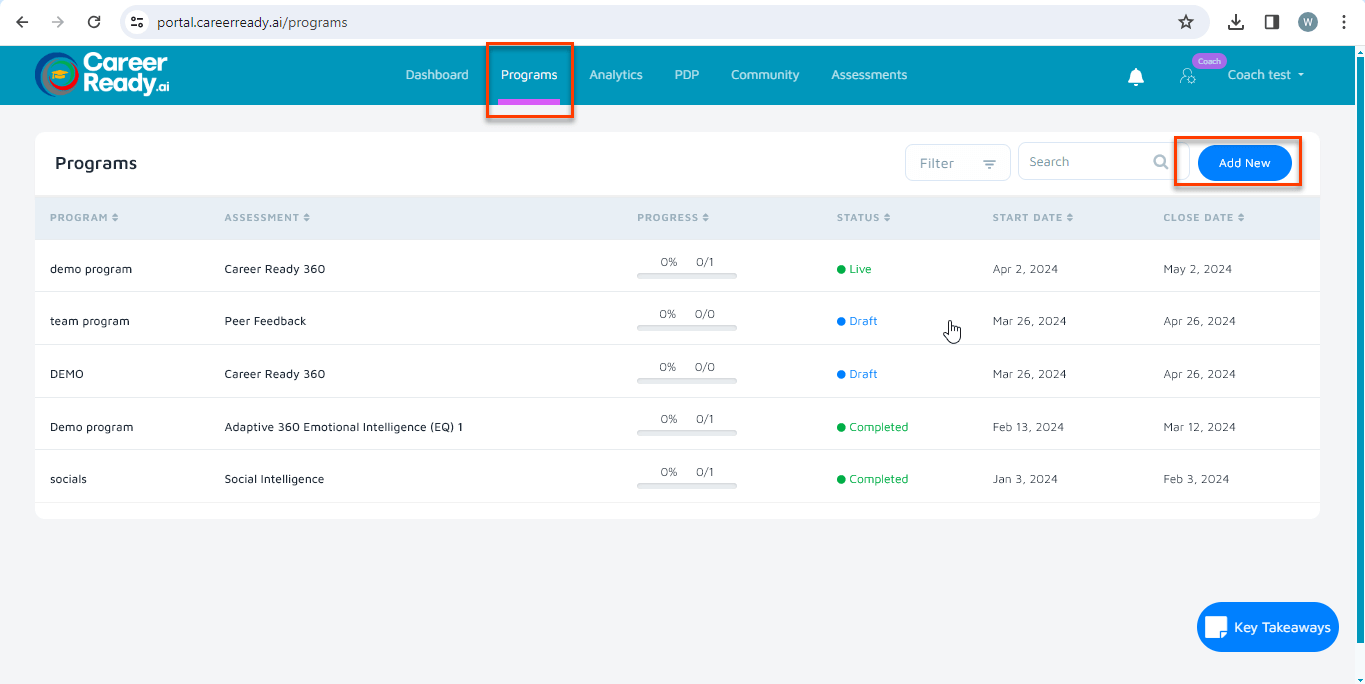
STEP 01: NAVIGATION TO PROGRAM TAB #
To create a program, you can go to the programs tab and click on the “add new” button
STEP 02: ADD PROGRAM DETAILS #
A form will be opened where you can add the program details. On the top left corner, you will have “Add mentee” option from where you can add a mentee to the program you created.

STEP 03: Add Mentee #
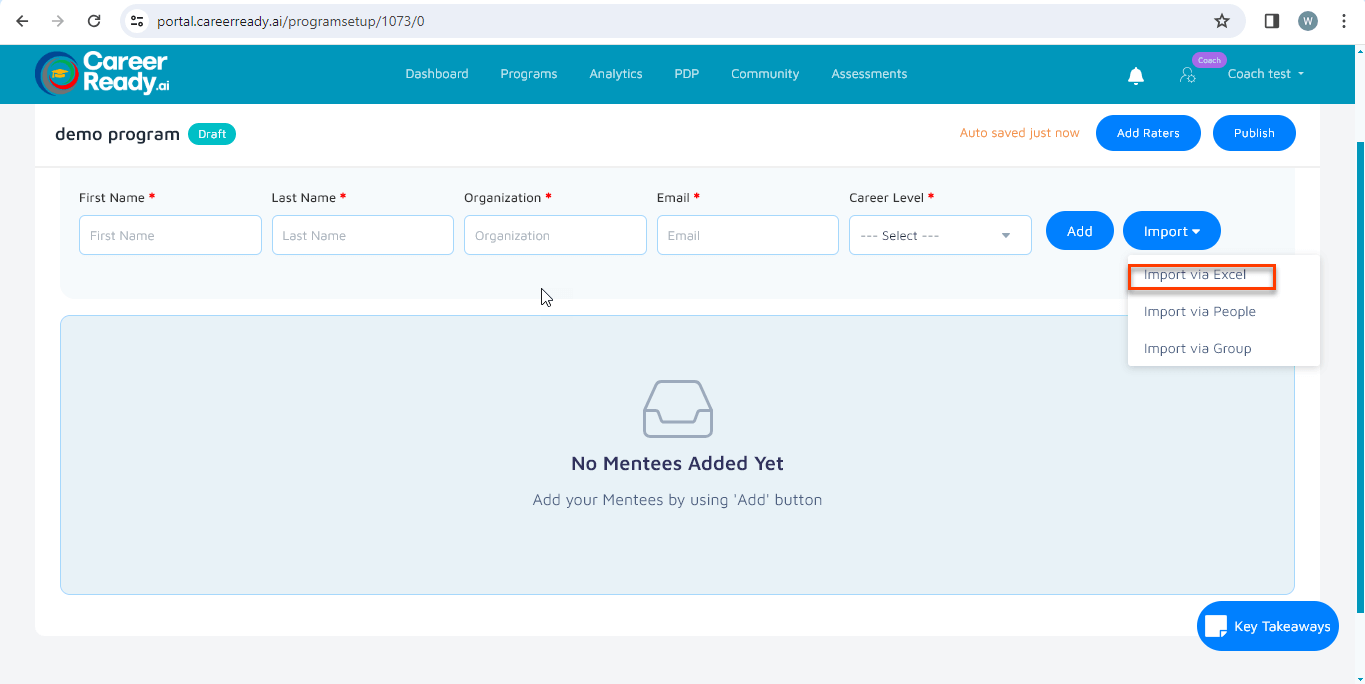
Under the ‘MENTEE’ tab you can add the details of your mentee that you want to add to the program. You can also import the list of mentees using the “Import” button

Import via Excel #
Click on the import button. In the dropdown you can select the “import via Excel” option.
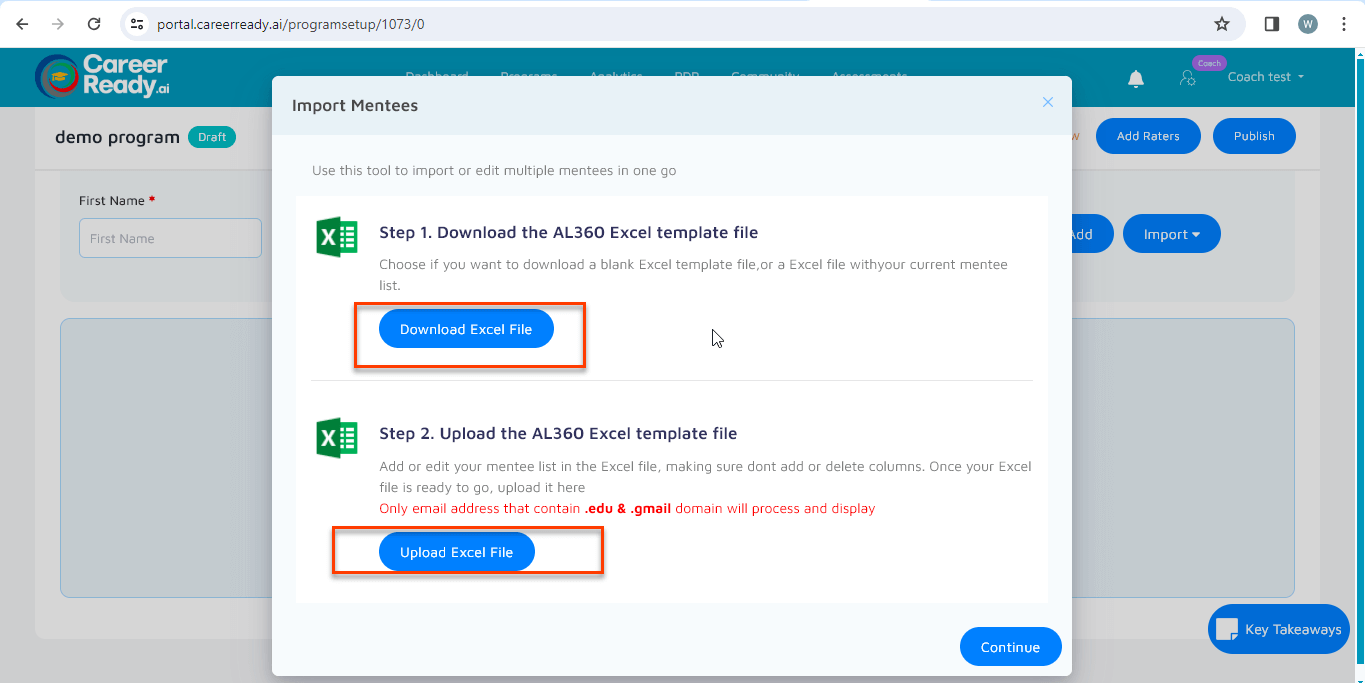
First you download the excel file that contain the columns where you can add the data of the mentees that you want to import into the system.
In the next step, you will upload the same file by selecting the “upload Excel file” button after adding the data to the file.
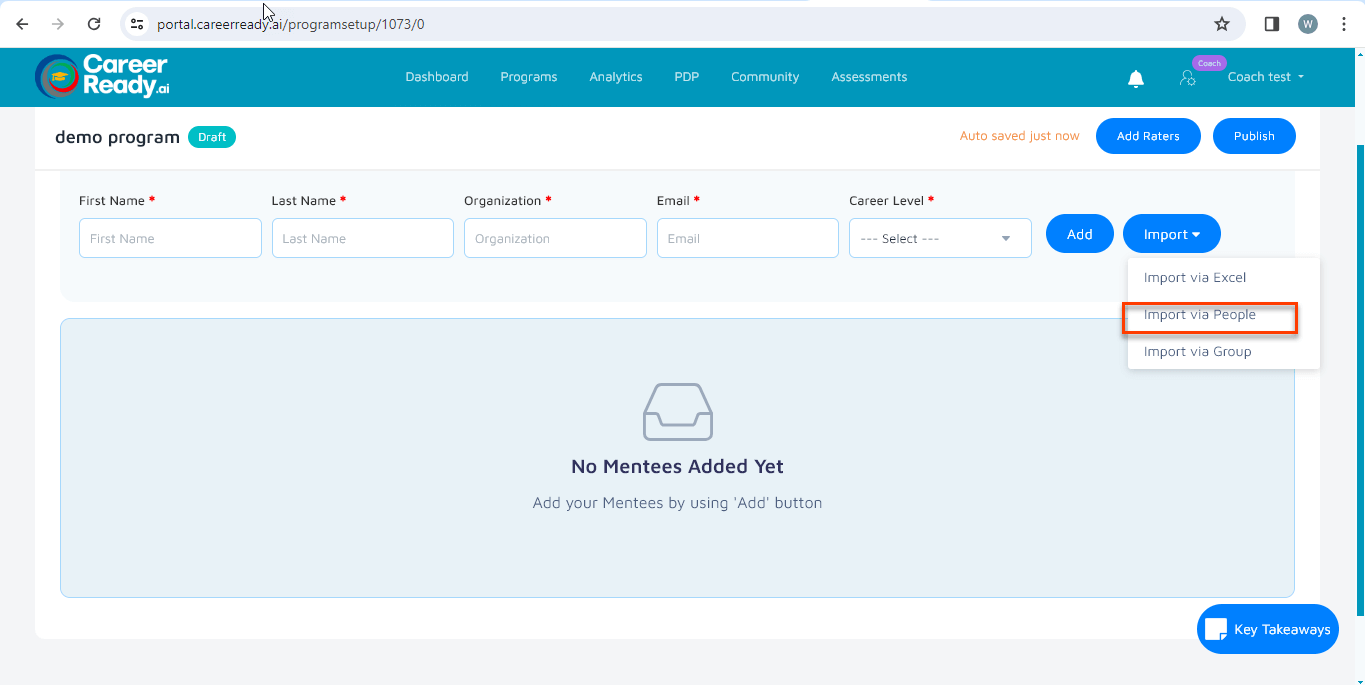
Import via people #
Click on the import button. In the dropdown you can select the “import via people” option.
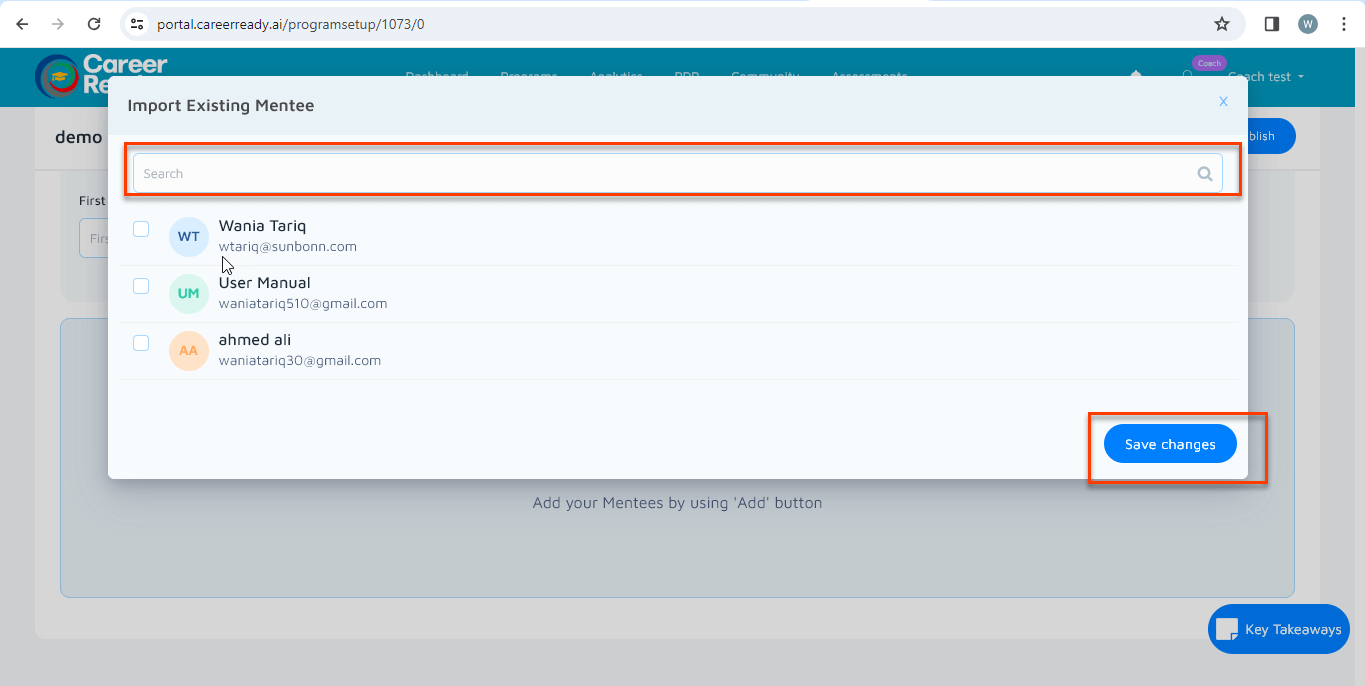
You will be listed with the people who have been added to any program and assessment. You can select the mentee that you want to add and save changes.
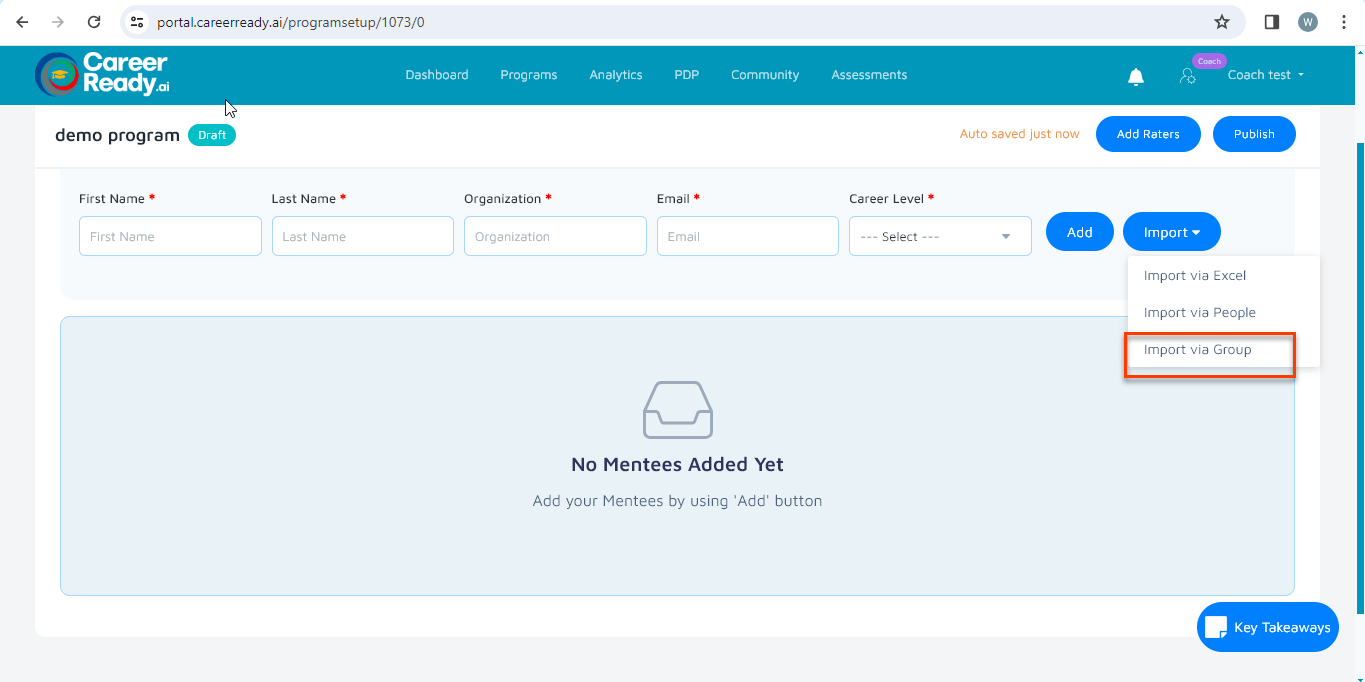
Import via groups #
Click on the import button. In the dropdown, you can select the “import via group” option.
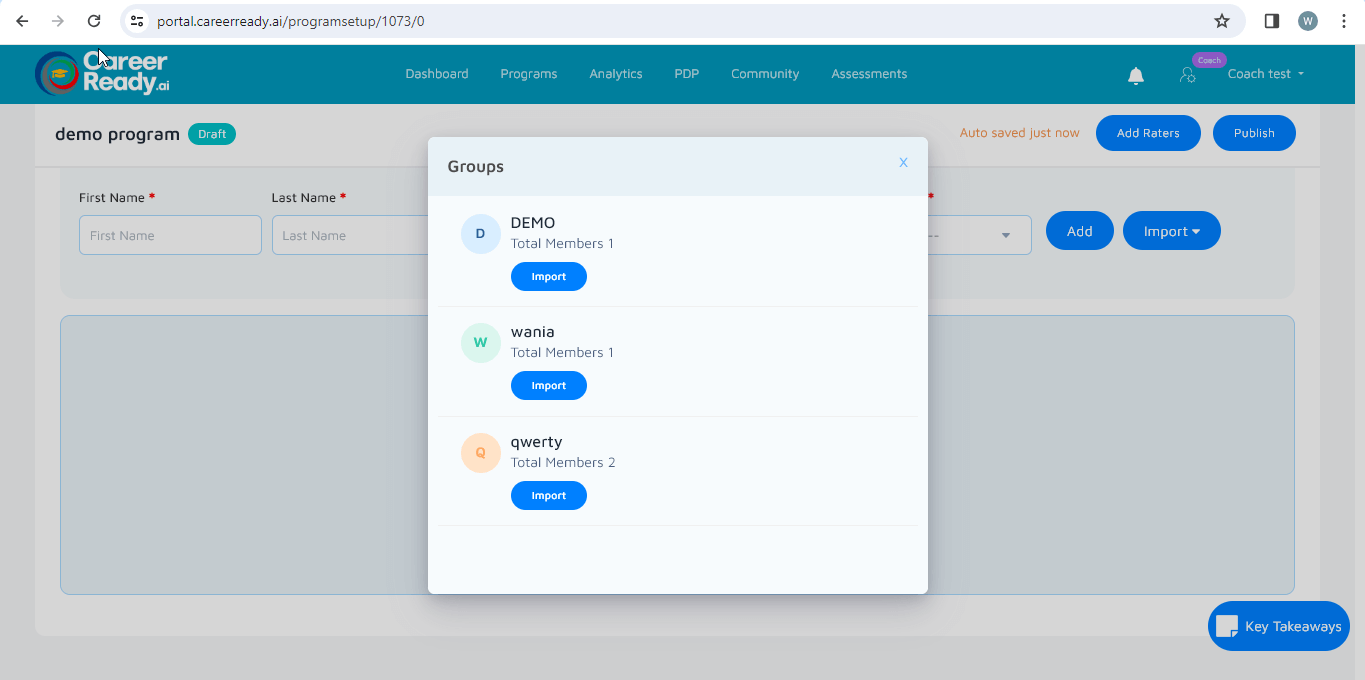
If you have created any group, you can import the mentees from that group by selecting the respective group and clicking on the “import button.
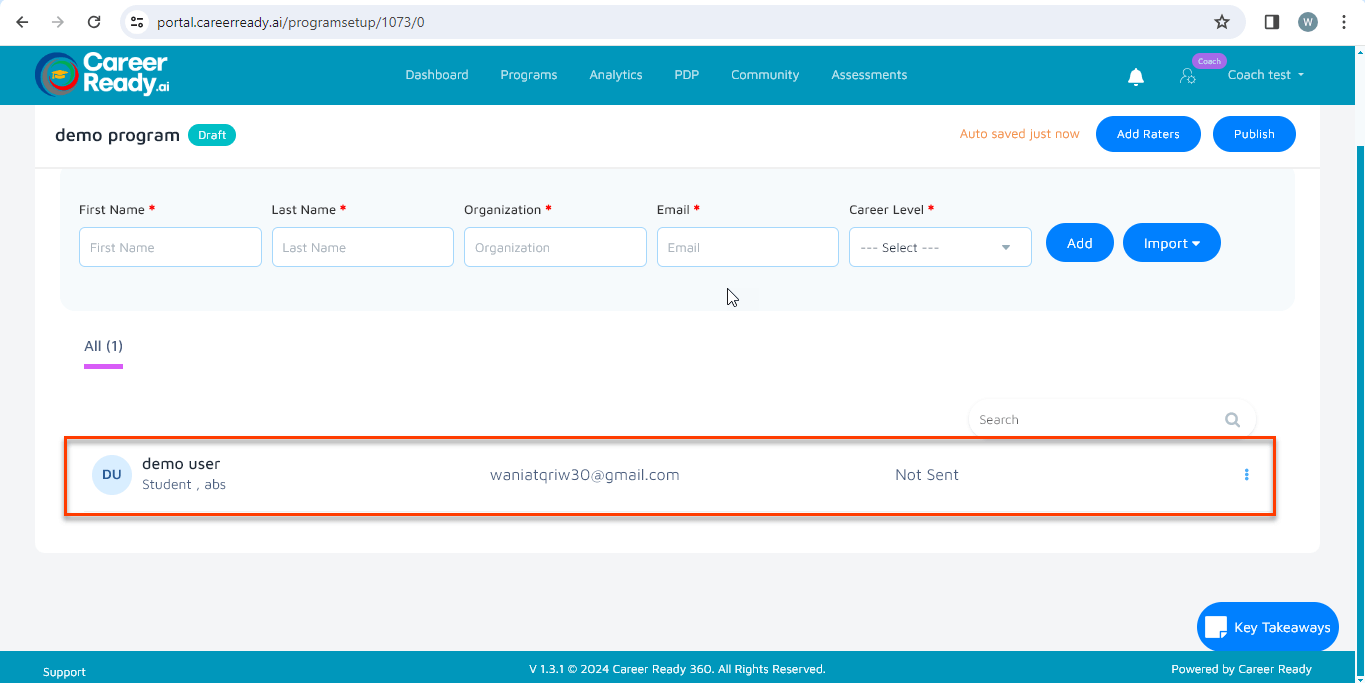
The mentees that you have added to the program will be displayed below.
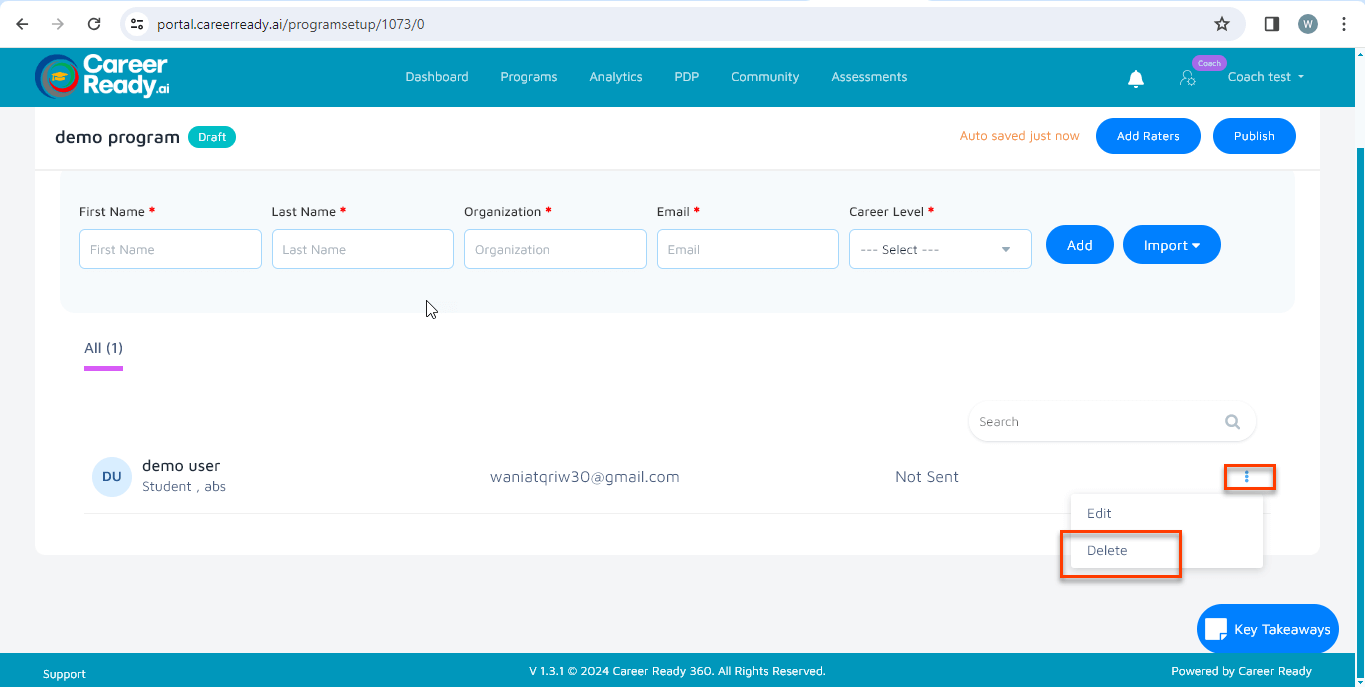
STEP 05: Delete Mentee #
You can delete the mentee for the program by clicking the 3 dots next to each mentee in the listing. You can also edit the details of mentee by clicking the “edit” option.
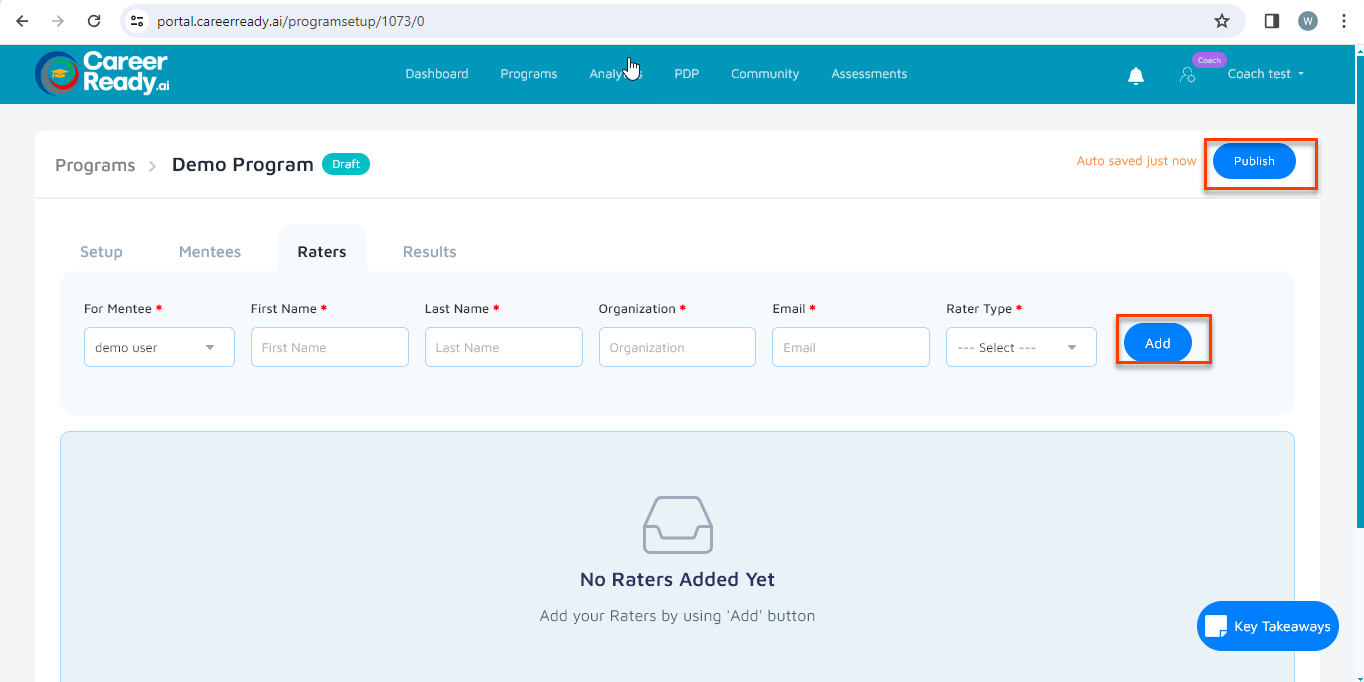
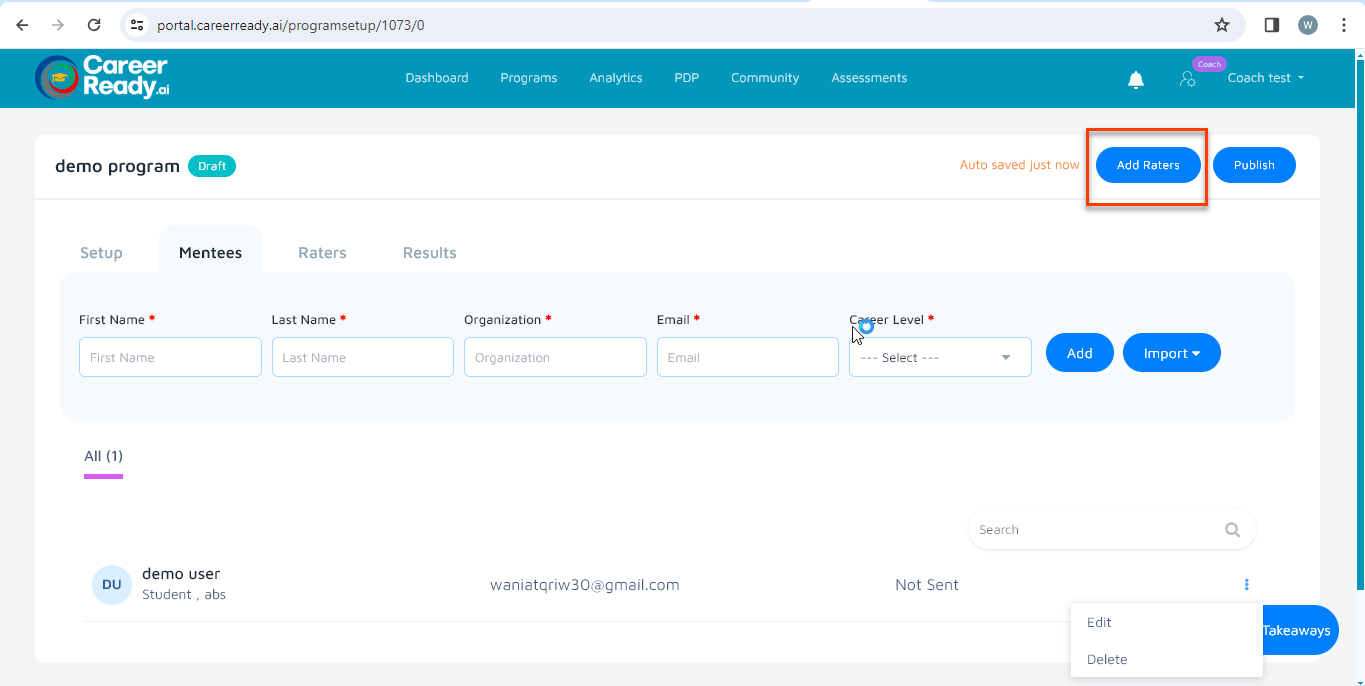
Step 05: Add Rater #
You can now add the rater for the program, by clicking on the top right “Add Rater” button.
STEP 07: Publish #
Here, you can add the details of rater, and add multiple raters in the program. It is noted that there should be more than one rater in each category. Now you can publish the program you have created by clicking on the “Publish” button. Once you publish a program, an email is sent to the added mentees and raters.